073
I searched around to find the original illustrator files I used to cut all the pieces for Captain Joystick, but I seem to have backed them up so well I may need spelunking equipment to retrieve them. You will have to settle for photos of the finished product.
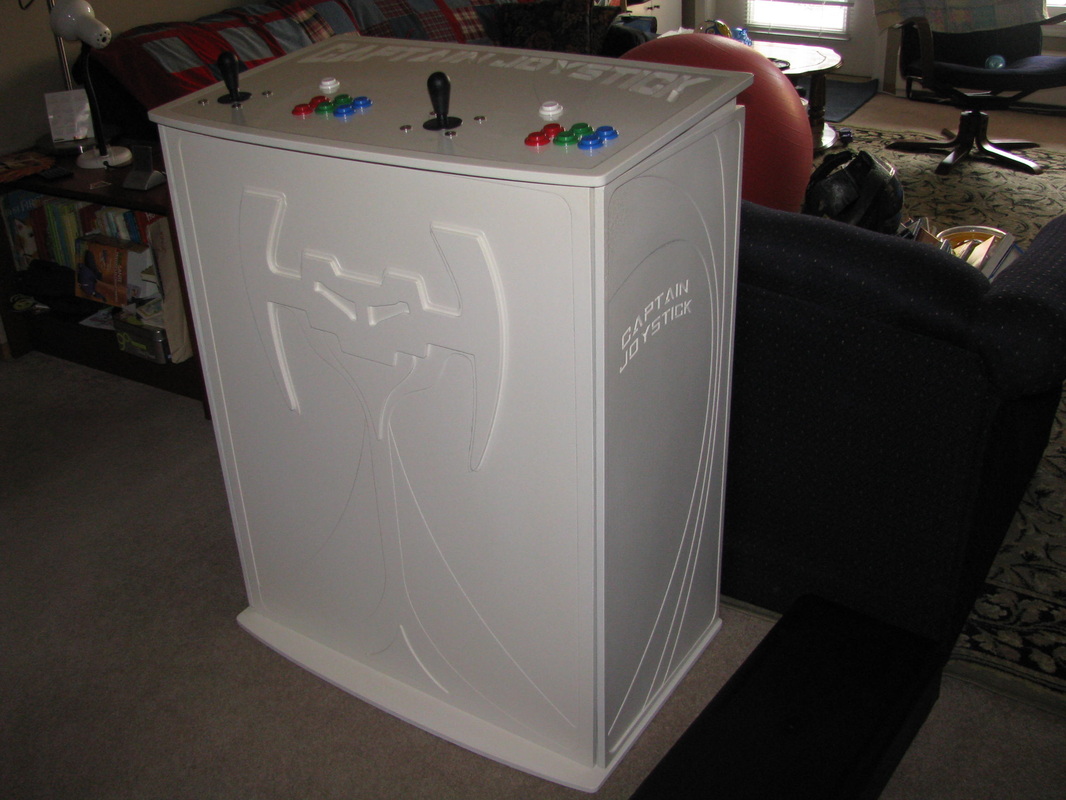
When I built my first arcade stick, I knew that I would eventually build a full size, stand up arcade cabinet. Captain Joystick, doesn’t look much like the typical arcade cabinet. That was absolutely intentional. I had a few criteria when I started on the project. I wanted to create a stand up arcade experience. I’ve never been a huge fan of sit down cocktail cabinets, which is probably a product of my particular brand of nostalgia. I’m sure all those people who prefer cocktail cabinets have good reasons, I was just never going to make one. I had no interest in hauling around a giant 200lb MDF monstrosity full of exposed wiring and spiders, so converting an old Mortal Kombat machine was out of the question. I don’t care for the CRT experience and I have no love of scanlines. I have a pretty firm belief that the play of a game does not depend on a certain combination of outdated technologies. I sort of like the crisp, bright image of PacMan played on a 1080p LCD screen. It’s old and new all at the same time.
There were some arcade cabinets out there in the mid 90s called show piece cabinets or pedestal cabinets, where the screen and speakers were separated from the controls by a couple of feet. The controls were embedded in an oversized podium. Only the real big money making games were housed in these giant cases. Arcade operators must have hated them. You could probably fit 3 games in the same floor space.
Computer hardware and displays change extremely quickly. The games I would be playing on this cabinet and their controls are cemented in time. The idea of having a control pedestal that I could hook up to any computer, game system, or display really appealed to me.
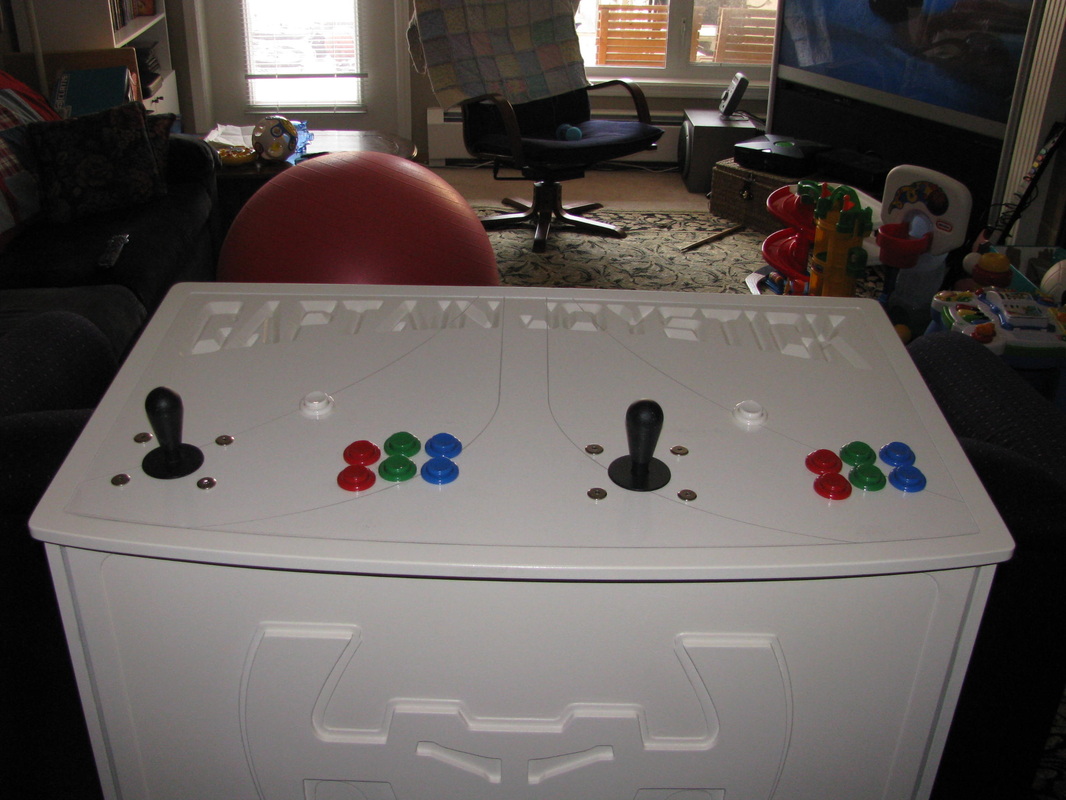
If I was going to make a podium, and I was going to have a bunch of empty space underneath the controls, I figured I might as well make the best of it. I designed a stack of shelves inside the cabinet and put doors on both sides. For a while I had game consoles in there, but in the end it will likely be used to house a very small computer, and whatever junk I toss in.
I designed all the milling files in illustrator and some router specific vector drawing software. I cut everything out of some ½” sheets of MDF and a ⅛” thick sheet of acrylic. The acrylic is inlayed in the top of the control surface. The router table is accurate to a few thousandths of an inch, but MDF is notorious for expanding like a sponge. Until I sanded the edges, the acrylic fit way too tight. On one particularly hot summer afternoon when I was working on the cabinet the acrylic bowed up and made a loud popping noise as the tension was released. It scared the bejesus out of me. The same expansion caused the doors to go slightly concave after I milled off most of the surface. I managed to fix most of these minor issues, but there are a few things I would probably do differently if I were to make a new one.
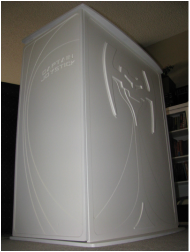
I designed the space invader on the front, the swoop on the doors and the engraved text, so that I could mill them all out on the table fairly quickly, as I only had one night on the router table to do most of the work. I had planned everything out so that all the parts would fit together like puzzle pieces. The cabinet should be self supporting and fairly strong with no adhesives or fasteners at all, but I made sure to glue it all together and put a few screws in there, just for peace of mind.
The paint is just a basic gloss acrylic, and I did it in a bit of a rush. At some point, likely this summer, I will have to disassemble the thing and give it several nice gloss coats, sanding in between. I really wanted the finish to be as bright and smooth as the acrylic on top. Only the edge around the controls is finished to that level right now. It doesn’t quite have that monolith quality I was going for.
All the buttons and sticks shown in these pictures were taken from my old arcade stick. I have since removed them and put them all in a new stick that I built for my cousin as a Christmas gift. The new buttons and sticks arrived a while ago and they should be a little more future proof than these ones were.
Now I’m in the final stages of wiring up the controllers. I have to wait for some connectors I ordered to arrive, since no electronics supply store in this town is open past 5pm. It’s a small delay really when you consider that the cabinet has moved from our old place to our new place, and occupied every floor of our home for extended periods, without even once being used to play a video game. A few more days won’t hurt.